Introduction
This is an historical summary and commentary of Nikon DSLRs. Click the links to individual reviews for details and comparisons.
A year in digital cameras is equal to 25 regular years. A camera introduced 2-1/2 years ago may as well be 62 years old. It's completely obsolete. A new D90 for $999 has far better image quality than the old Nikon D2Xs which sold for thousands the year before.
Contrast this to film cameras where my 4x5" Linhof Technika and 150mm lens are 50 years old, and still in the prime of their useful life.
This article reads backwards. The newest is on top.
Generations
There are vast differences in real image quality between Nikon's two generations of digital cameras.
Like most marketing organizations and repressive governments, camera makers keep most people in the dark by keeping them worrying about easy-to-understand things which make no difference, like pixels and ISOs which are easy to describe with just one number, instead of trying to teach people what really matters, which are the subtleties of how a picture actually looks.
Because camera makers have the masses worrying about pixels and bit depths, when Nikon makes significant advances, they're usually not obvious behind all the fluff.
The difference between generations is so significant that the best Gen 1 camera, the D2Xs, can't make pictures as good as the cheapest Gen 2 camera, the D90, in most real picture-taking situations.
First Generation
Nikon's first generation of digital SLRs started with the D1 of 1999 and continues in 2008 with the D40.
The first generation has only primitive picture and white balance adjustments.
Gen 1 cameras have an Optimize Image menu with crude controls allowing only two rudimentary options of "Enhance (+)" or "Moderate (-)" for saturation, and WB trims that extend only to ±3. There is no green/magenta adjustment for WB.
There were meaningless mentions of undefined modes I, II and III in the Optimize Image menu, but no clever dynamic range management as Gen 2 adds.
Gen 1 cameras are the D1 and D2 series, D40, D40x, D50, D70, D70s, D80, D100 and D200.
Second Generation
Nikon's second generation DSLRs started coming out in 2007 with the D3 and D300.
Second generation cameras offer the potential of significantly better real image quality because Gen 2 cameras add Nikon's Adaptive Dynamic Range (ADR).
Presuming its turned on, ADR allows Gen 2 cameras to render most real scenes much closer to the way our eyes see them, without all added contrast, blown highlights and blocked shadows common on film and Gen 1 cameras for most people.
If you're a pro who knows how, and actually controls his lighting perfectly, then you can get great results on Gen 1 cameras, but for most people who don't, Gen 2 cameras will give significantly better pictures.
The D90 has ADR on by default, and the D3, D700 and D300 need it turned on in the menus. I always shoot my cameras with ADR in NORMAL (or AUTO if available) for every shot.
Gen 2 cameras also are Nikon's first cameras to allow a full range of saturation and other image adjustments. Saturation and other values are set in direct units of up to ±3. These are set in the Picture Controls menus.
Gen 2 cameras have WB trims which extend 6 units in each direction, marked in blue and amber (not + and -) and allow green/magenta adjustment.
Gen 2 cameras offer five manual preset (gray card) WB storage settings, complete with icons and notes.
Gen 2 cameras magically and automatically correct color fringes caused by most lenses. If you're a tweaker, this alone significantly improves corner sharpness.
 |  |
 | The Gen 2 D90 is far, far better than the Gen 1 D200. I didn't have a D2Xs for comparison, but it would be the same as the D200. These shots are crops from the corner with the 18-200mm VR at 18mm. The D90 is as sharp as the D300. The D90 was focused elsewhere in this example. |
Gen 2 cameras are using the increased in-camera processing horsepower to do all these tricks. If you're wasting your time shooting raw, you will have to hope that whatever software you're using to open raw files is as smart as what Nikon is building into these cameras for free. Many off-brands of software can't do any of this.
There was never much reason for raw, and in Gen 2, even less. It's quite likely that using raw with a Gen 2 camera and most, if not all, software, will throw you back into Gen 1 quality. It's not 2006 anymore. Most raw software does not do any of the clever things, like ADR, expanded color controls or totally automatic lens corrections, that are done in-camera.
Gen 2 cameras also have a super-sharp new 3" LCD screen.
Gen 2 cameras are the D3, D700, D300 and D90.
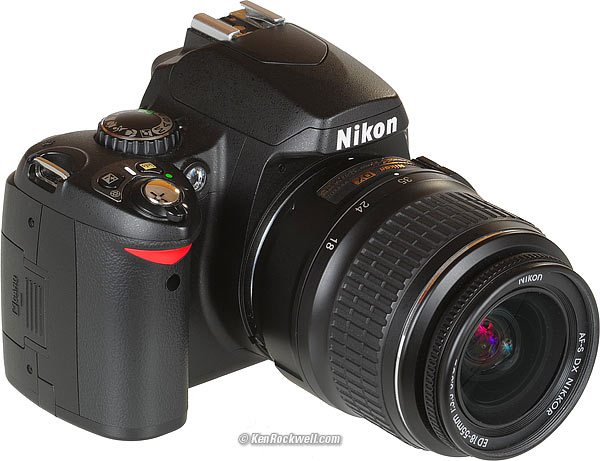
The D60 has ADR, but its stuck with the old Optimize Image menu and none of the other Gen 2 additions, so call it Gen 1.1 if you insist. I'm calling it Gen 1.
2009
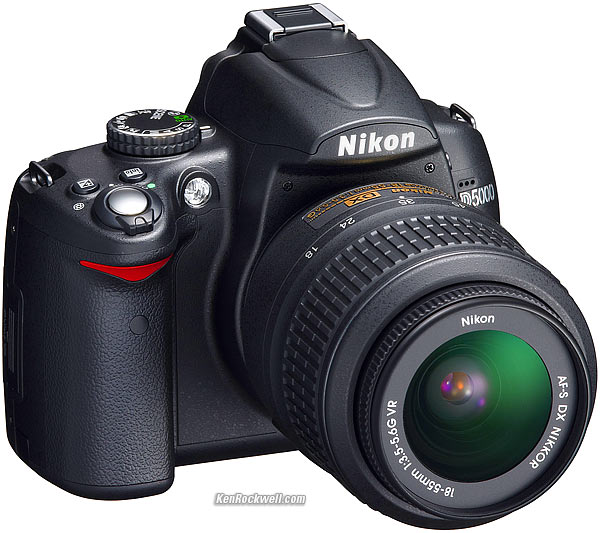
Nikon D5000.
14 April 2009: The Nikon D5000 adds a flippy LCD screen, movies and 12MP DX for $730. It's slotted below the D90 but above the D40 from 2006.
2008
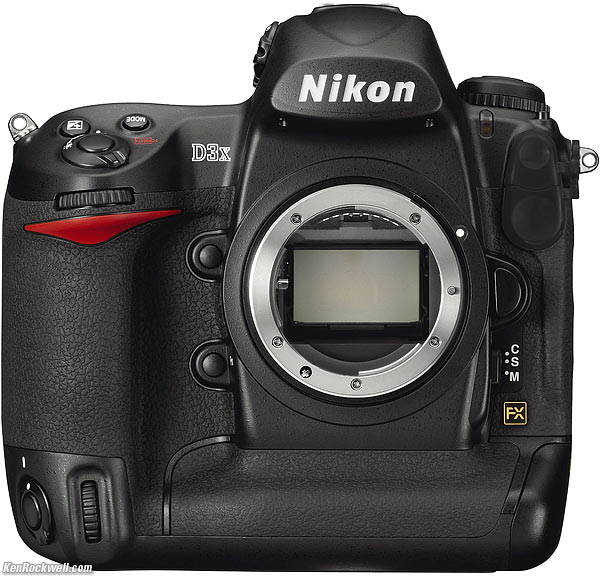
Nikon D3X.
01 December 2008: The D3X is annouced. It's identicle to the original D3, except with 24.4MP and only 5FPS and lower ISOs.

Nikon D90.
27 August 2008: The D90, a 12MP DX mid-line DSLR for $999. Replaces D80, and is a huge improvement over the D80 because it jumps to Gen 2.
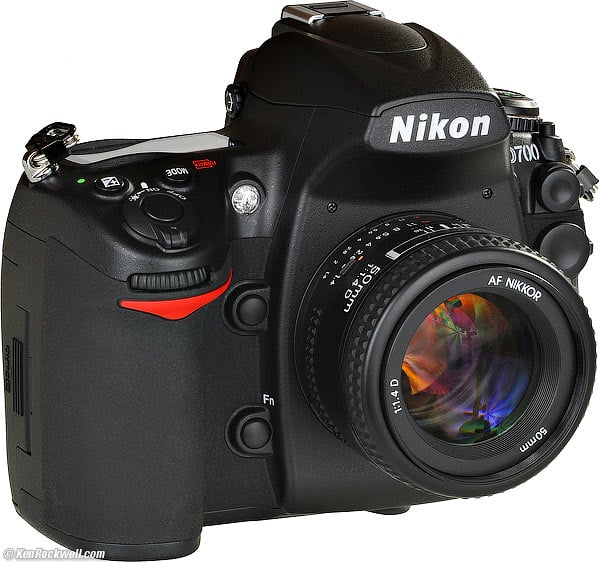
Nikon D700.
01 July 2008: The D700, a 12MP FX DSLR for $2,999.95. It's Nikon's top amateur camera.
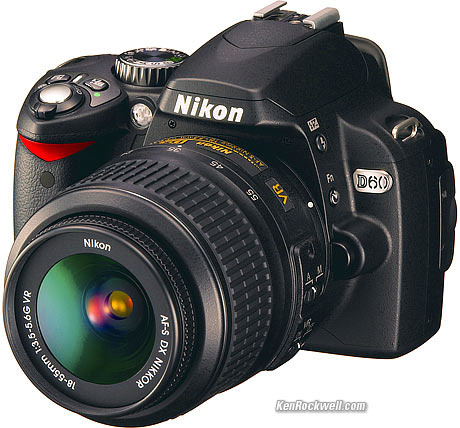
Nikon D60
January 28, 2008: Nikon D60 announced. Replaces D40x.
2007

Nikon D3
23 August 2007: The D300 and D3 are announced for November sale. Both have new 3" LCDs with live viewing.
The D3 is another milestone with Nikon's first 24x36mm sensor, dubbed FX. It runs 9FPS for $5,000. The D3 replaces the D2Xs.
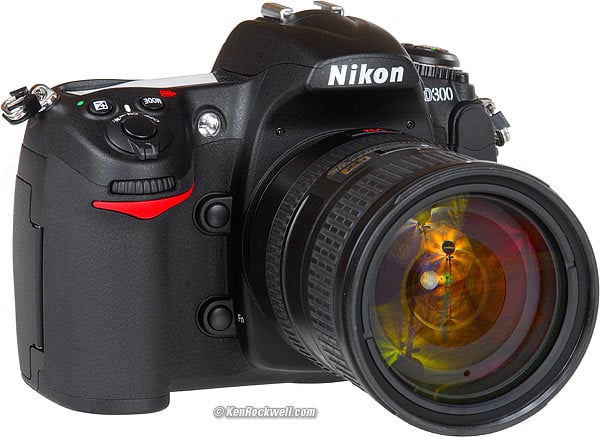
Nikon D300
The D300 is an evolution of the D200, now with a 12MP DX sensor and 6-8 FPS for $1,800. $1,800 oddly is a price increase $300 over the D200. The D300 replaces the D200.
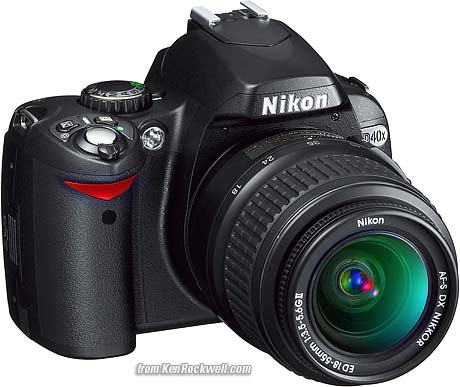
Nikon D40x
05 March 2007: The D40x is announced to fill a vacant price point in Nikon's line. It is the same as the excellent D40, but with 10MP instead of 6MP, but a slower sync speed of 1/200 vs. 1/500, a slower default ISO of 100 vs. 200, and a $200 higher price than the D40. The D40x was introduced to let Nikon fill in a price point in its camera line for competitive purposes. Personally I prefer the less expensive D40. See also the Megapixel Myth.
2006
Nikon D40
16 November 2006: The D40 is announced for Christmas at $599 with included excellent 18-55mm II lens. It is the smallest, lightest and least expensive Nikon DSLR ever. It started shipping on November 30th, 2006.
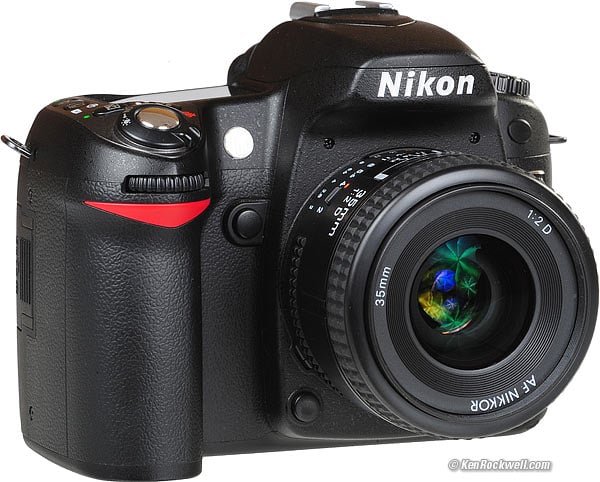
Nikon D80
09 August, 2006: The D80 is announced. 10 MP, 3 FPS for $999. The D80 is a D70 body and mechanics with the sensor and LCD of the D200.
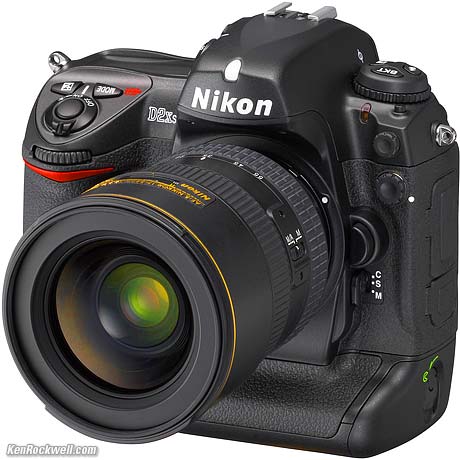
Nikon D2Xs
June 2006: The D2Xs is announced, a slight improvement to the D2X. Same 12 MP and 5FPS and weird crop mode. $4,700.
2005
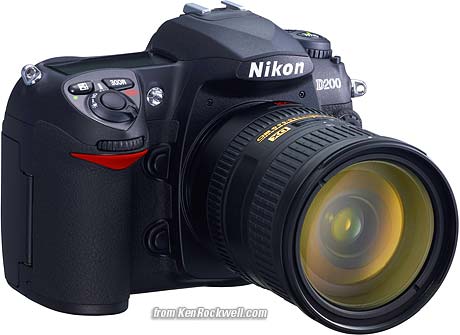
Nikon D200
01 November 2005: the D200 is announced. It's a groundbreaker at 10MP and 5 FPS at $1,699. It shipped in December 2005 as promised. It was on backorder until about October 2006. The D200 starts a new level in the Nikon line between the plastic D70 and the pro D2X.
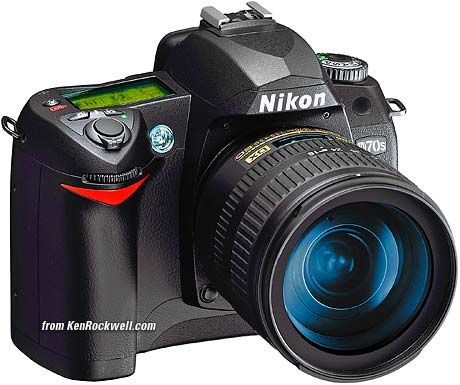
Nikon D70s
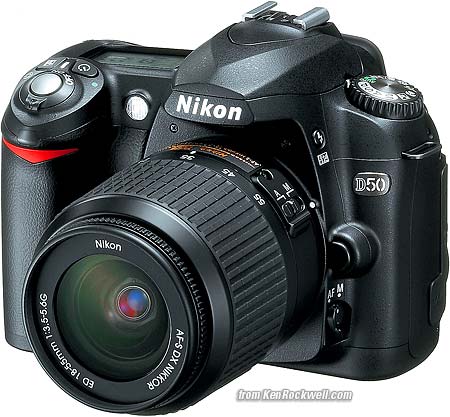
Nikon D50
22 April 2005: The D70s and D50 are introduced. The D70s is a D70 with slightly larger screen. The D50 is a D70 with a couple of features removed. The D50 is still 6MP but only 2.5 FPS.
The D70, D70s and D50 are great cameras new or used, but replaced by the two-year-newer D80 of late 2006.
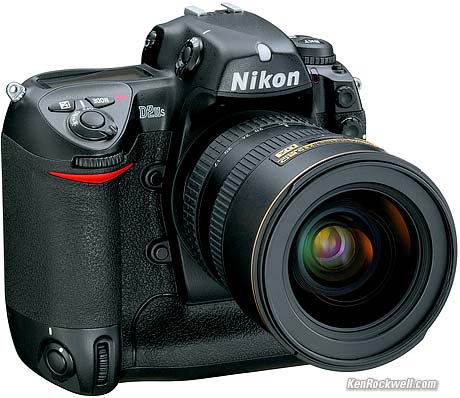
Nikon D2Hs
February, 2005: The D2Hs is announced. It's a minor revision of the D2H at a bargain price of $3,500. This makes a used D2H or new D2HS a great buy for sports. They are the same as the more expensive D2Xs, just faster with a few less pixels.
2004

Nikon D2X
16 September, 2004: the D2X is announced. 12MP, 5 FPS, $5,000. The D2X also has a bizarre cropped 7 MP, 8 FPS mode. Most of what the D2X does is replaced by the D200 in 2005. I'd get a used D2X if the price was right. It's Nikon's top of the line. I prefer the D200 for smaller size and a couple of more features.

Nikon D70
February 2004: Nikon shows the D70 at PMA. It's lightweight, 6MP, 3 FPS and a groundbreaker at $999. The D70 is a huge improvement over the D100 in almost every way except having no accessory vertical grip. All this, and it's priced less, too! The D70 fixes the dust problem by moving the CCD filter further away from the CCD. This throws dust out of focus and makes it much less of an annoyance than on the D1 series cameras.
The D70 replaced the D100.
Nikon was going to discontinue the D100, but instead decided to keep making the D100 because they discovered they could get a higher price than the D70 just because of the model number. People who equated price with quality kept buying D100s because they cost more.
2003
December, 2003: Nikon announced the development of the D70. Nikon had little to say other than the D70 would be cheap. Nikon was still inventing the D70 and had none to sell. Nikon made the announcement to get people to wait instead of fleeing from Nikon to Canon's inexpensive Digital Rebel.

Nikon D2H
22 July, 2003: The D2H is announced. 4.1 MP, 8 FPS, $5,000. The D2H was a new design with a much improved Li-Ion battery and a new flash exposure system. The D2H is a bargain used and a fantastic camera for sports.
2002

Nikon D100
21 February, 2002: The D100 is announced. It's 6 MP and 3 FPS for $1,999. This is Nikon's first lightweight amateur DSLR camera. It was an N80 with digital guts. It wasn't available for sale until June, 2002. It was a sellout with long waiting lists for a year after its introduction.
In May 2003 the D100 dropped to $1,699. In December 2003 it dropped to $1,499 where it stayed for a year or two. In May 2005 it dropped to $999.
Forget the D100, but snap one up if you can get a screaming deal.. The newer D70 and D50 work better. The D100 required messing with a wheel and knob to make critical adjustments. The newer cameras have direct entry buttons. The newer cameras have two years of extra wisdom in their firmware and just do everything better. Flash exposure isn't very good on the D100. See a comparison here. The D100 used the same EN-EL3 Li-Ion battery of the D50 and D70.
2001

Nikon D1H. Nikon D1X looks the same except for model number.
05 February 2001: Nikon announces the D1X and D1H, improvements to the D1. Performance was honed, a few features were added and price remained at $5,000.
They both replaced the numerical menu system with easy to understand menus in English.
The D1H kept the 2.7 MP sensor and increased speed to 5 FPS.
The D1X slowed to 3 FPS, but increased resolution to 5.3 MP. The resolution of the D1X is still decent in 2006. It used a bizarre CCD with twice the horizontal pixel density of the D1. Image quality was, and still is, extremely good because it had 4,024 horizontal pixels on the CCD. It had to do less Bayer interpolation and thus has much better image quality than one would expect in its 3,008 x 2,000 pixel images.
Don't buy either of these today regardless of price. They had awful battery systems. I had a D1H. They only run for about 250 shots on a charge. The batteries are huge, heavy Ni-MH packs which require constant babying in charging. The packs have protuberances which make them painful to carry in a pocket. They lose charge if left unused. Even a freshly charged battery would indicate almost dead after a few shots. Most D1, D1H and D1X users including myself lived with the viewfinder indications turning off, indicating almost dead battery, after just a few shots. They also had awful flash exposure. Many photographers had to revert to non-TTL exposure modes because the TTL mode was so flaky. Dust was a horrible problem because the CCD cover filter was too close to the CCD. At almost any aperture you'd see dust clearly on the image. They were state of the art in their era (2001 - 2003), but that era is long gone.
1999:World's First Practical DSLR
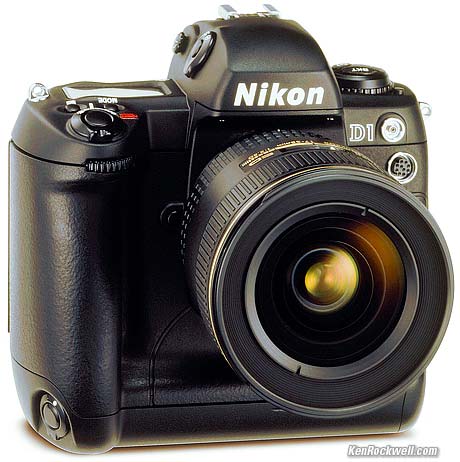
Nikon D1
15 February 1999: Nikon announced it was working on "a new professional class, high-quality digital Single Lens Reflex Camera."
15 June, 1999: Nikon announces the D1, the world's first practical DSLR. It is the first practical DSLR because it's the first DSLR with good enough image quality for print (2.7 MP), fast enough (4.5 FPS) and priced low enough ($5,000) and functional enough to be sensible to use daily as a primary camera. It's also the first DSLR made with Nikon electronics in a Nikon body, by Nikon.
It replaced film at forward looking newspapers.
Forget about it today, regardless of price. For the same price you can get the greatly improved D1H or D1X, neither of which are worthwhile today either. The D1 is confined to the dumpster of history (and collectors) because its battery system is a pain, and its menu structure requires interpreting numerical custom functions. It requires a cheat sheet to decipher. Flash exposure performance is awful. Get one only as a landmark camera to collect. The D1 is the landmark. The D1 is the camera that replaced film at newspapers.
Nikon announced no new DSLRs for a couple of years.
1998
The similar E3 and E3S came out, still based on a big klunky Fuji body. They were still only 1.3 MP (1,280 x 1,000 pixels). SCSI interface. Still about $20,000.
These relics are worth about $300 in 2006. Don't bother using them for serious photography.
1996
A minor upgrade, the E2N and E2NS came out and was still about $20,000.
These relics are worth about $300 in 2006. Don't bother using them for serious photography.
1995
Digital SLRs are still science experiments, but in series production for special events. Nikon finally makes its first commercialized DSLR, over twenty years after America invented digital cameras.
It was called the Nikon E2 and E2S. They weren't Nikon bodies at all. They were hacked out of Fuji bodies with Nikon electronics! Bizarre internal reduction optics helped restore the field of view, with weird effective apertures. PCMCIA card memory. About $20,000 and only 1.3 megapixels, which is why they don't count as practical cameras.
These relics are worth about $300 in 2006. Don't bother using them for serious photography.
1991
Digital SLRs are still custom built laboratory experiments. NASA had some Texans hack an F4 to fly on the STS-48 shuttle mission. It had a 1MP black-and-white sensor and recorded to a Texas-sized hard drive hacked to the bottom of the F4. See it here. Nikon had nothing to do with this as far as I know. It was the Texans who played Frankenstein with a stock F4 body.
Kodak sold the $13,000 1.3 MP DCS-100, hacked into an F3HP body.
1990
Kodak shows a hacked Nikon body with a Kodak sensor at Photokina called the DCS. It was 1 MP and cost $25,000. It shipped in 1991.
Kodak kept trying through about 2003, and gave up after the 14n.
These and later model Kodaks were popular for some news events, but most newspapers that had them threw them away when the D1 came out in 1999.
1973
Kodak created the first digital camera in Rochester, New York, USA. It was big and scary and certainly didn't run on batteries. Nikon had nothing to do with this, although Kodak probably used a Nikkor lens.
More Information: This site also has an excellent history of digital Nikons.
source : http://www.kenrockwell.com/nikon/dslr.htm
 ), but don’t forget that you have options when choosing a blog platform. Here are 40 free ways to get started.


 ASP (Aspherical Lens)
 APO (APO Lens)
 OS (Optical Stabilizer) Function
 HSM (Hyper-Sonic Motor)
 RF (Rear Focus)
 IF (Inner Focus)
 Conv (APO Teleconverter EX)
 EX (EX Lens)
 DG (DG Lens)
 DC (DC Lens)


